“Before I even clicked off a mile, I (_____fill_in_the_blank____) to my sled,” are words that live in infamy with a group of my snowmobile friends.
But as much as we joke about it, there actually are a few things I do to a new sled before I take that first ride.
And with enough snow on the ground here in the Twin Cities area, here are some pix of the process before I take my first ride this afternoon.
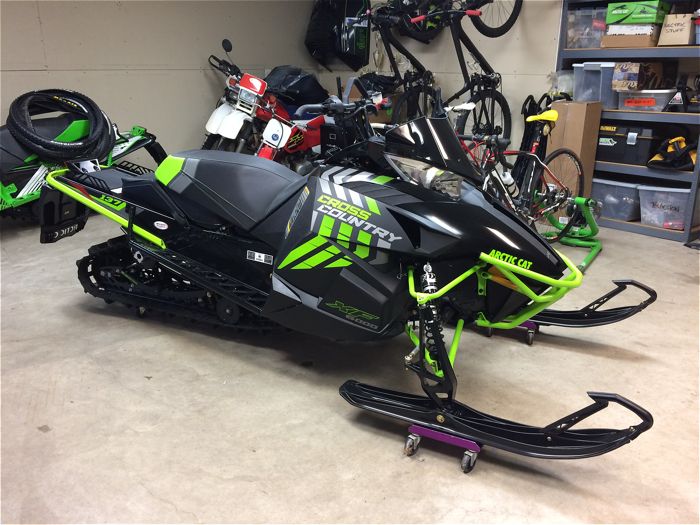
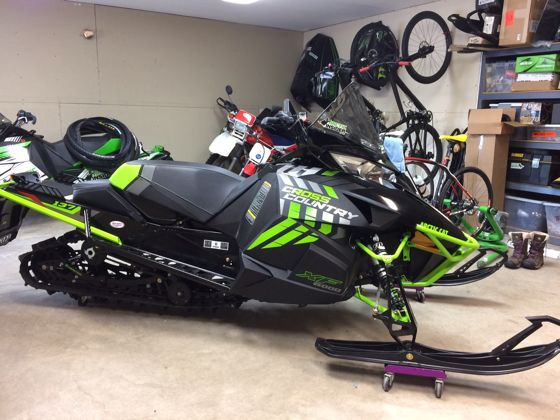
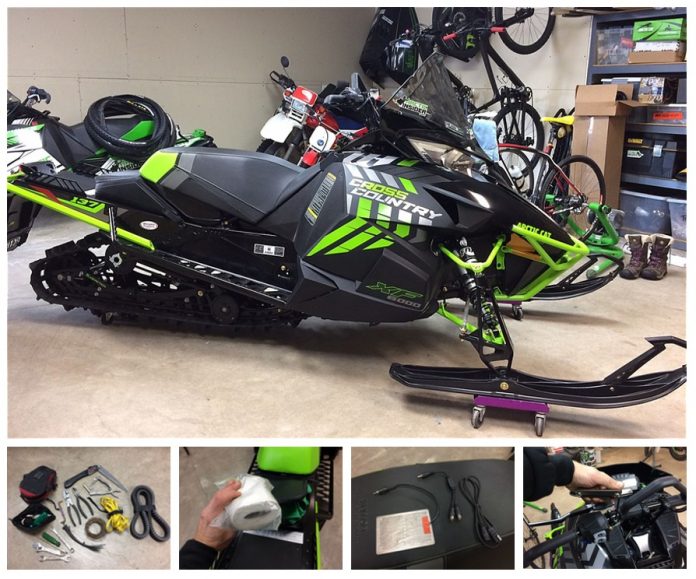
Totally stock 2017 Arctic Cat XF 6000 Cross Country Limited. It’s a far more capable sled than the guy who’s going to ride it this season, but there are still a few custom touches I like to give it before I click off that proverbial first mile.
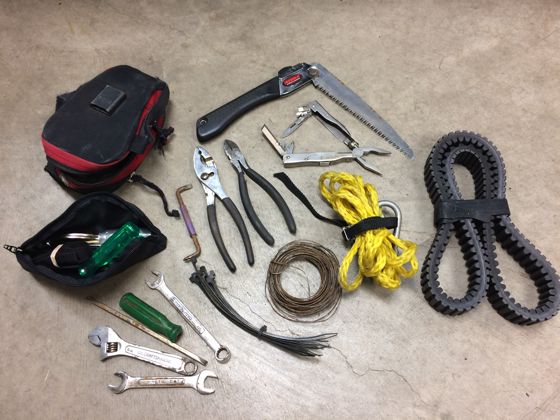
There are a few additional tools and supplies I like to carry in addition to the OE-equipped tool kit, all visible here. There are occasions when I bring along an additional tool (like a wrench to adjust the headlight aim on the first night ride of the season), but the above covers most of what I need.
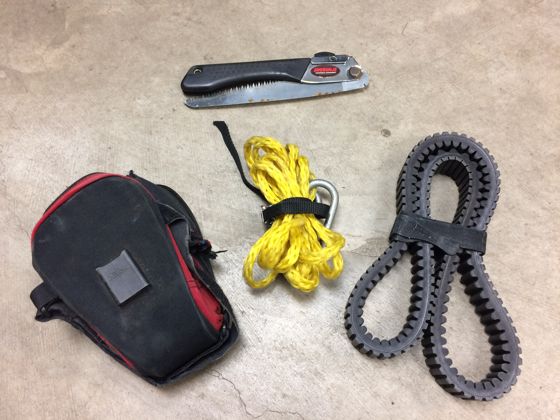
With stock tool kit and extras bound into an old bicycle seat bag for safe, rattle-free storage, all that stuff is almost ready to pack…
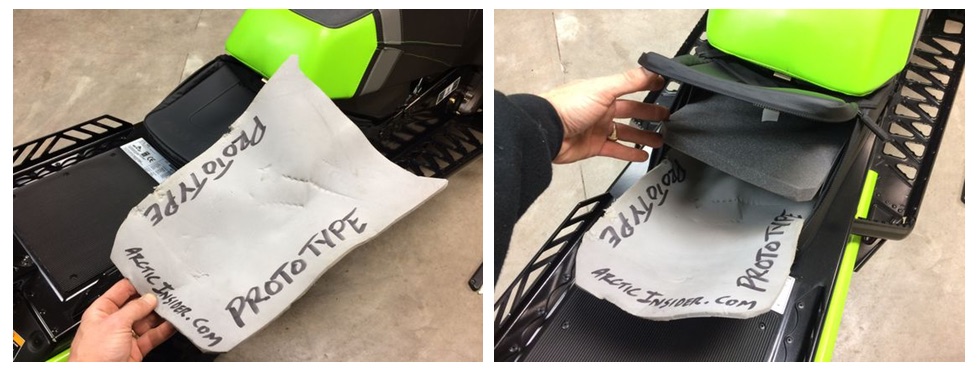
…but first I like to add an extra layer of foam to bolster the foam that comes stock in the rear bag. Why? Because I like my stuff to be properly cushioned, and I hate the sound of rattling gear when I ditch-bang the heck out of whatever situation I find myself feeling surly.
I cut the above prototype ArcticInsider foam out of some high-density stuff that came in a bicycle box, using the stock foam as a template.

What else? An old t-shirt for use as a rag; some emergency toilet paper for those times when I ride with my friend Kale; and a pair of hand-saving Arctic Cat Soft Muffs (P/N 7639-113, available from your Cat dealer).
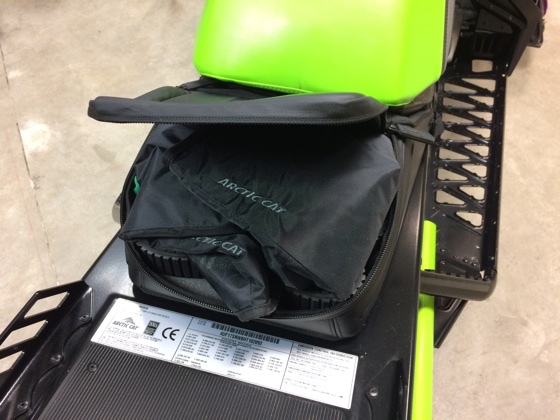
I have to pack this stuff perfectly to get it in, and it’s an ever-so-slight squeeze to add the muffs. Which is exactly the point, because I want all the gear to be snug inside the bag even when the muffs are giving lovable warmth to my hands. No rattling, no banging around.
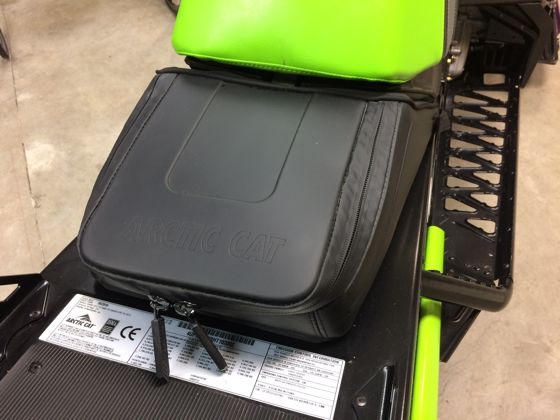
So much inside, ready for whatever goofiness happens.
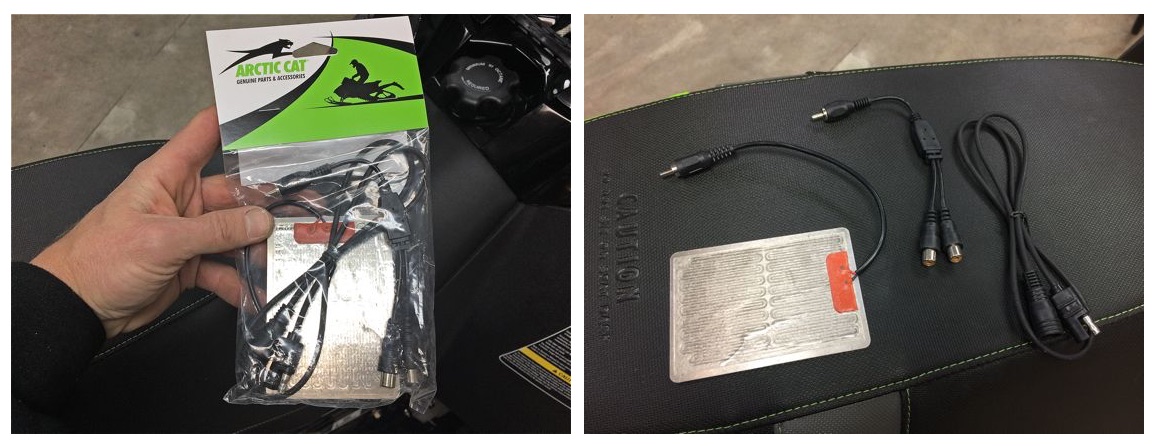
Next up is my favorite item to keep my cellphone ready for use (photos or phone) while being stored inside the Goggle Holder Bag (P/N 5639-767 or 7639-591, at your Cat dealer) no matter how cold it is outside: the sweet Bag Heater Kit (P/N 5639-837).
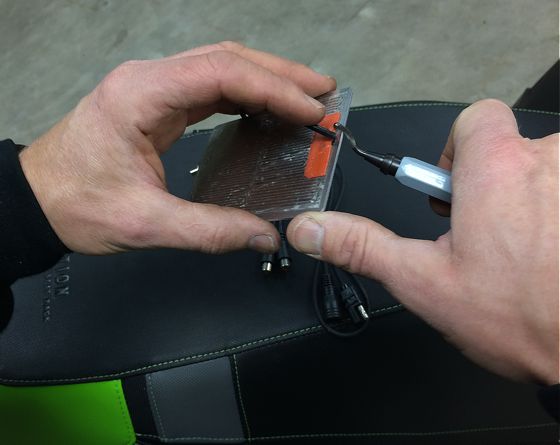
I suggest a couple tricks to make the heater wiring stay protected, as well as your phone.
First, de-bur the edges of the heater host plate (both sides), taking particular care to smooth the spot where the wiring will touch the plate.
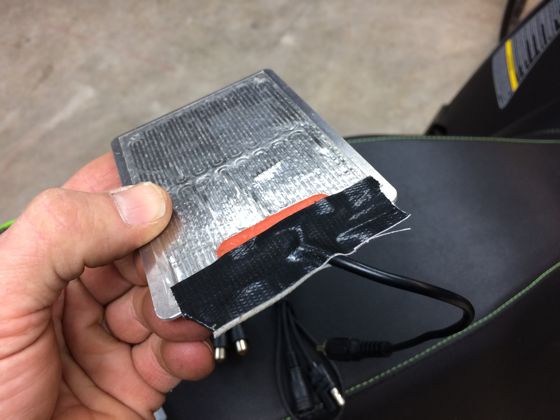
Then, to give the wiring some extra (flexible) support, run a couple strips of duct tape like you see above.
Everything COULD be ready to run as-is, but I like to take one more step to protect my phone from contact with the metal heater…
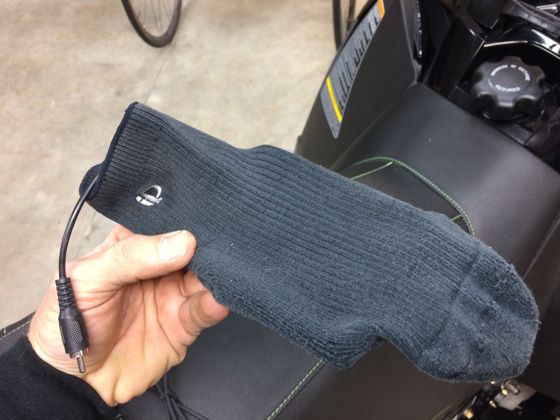
…placing the whole heater inside an old, stinky sock.
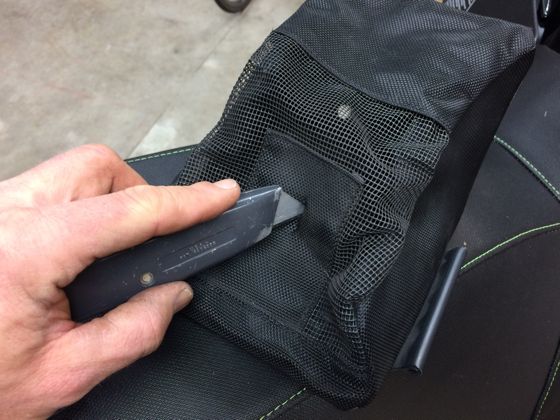
Okay, next you need to cut a small access slot on the bottom of the Goggle Bag to run the wiring through.
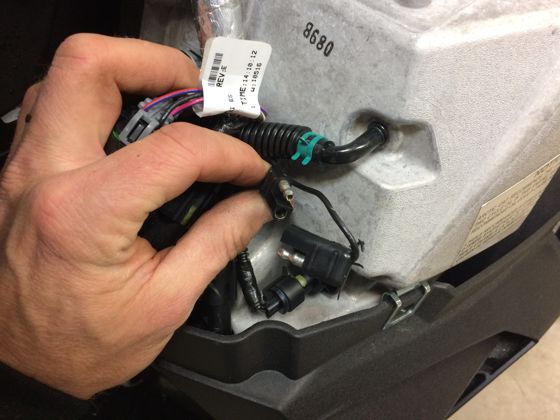
Next, running the wiring. Start by opening up the right side panel on the sled, which gives you access to the orphan/accessory plug in the harness.
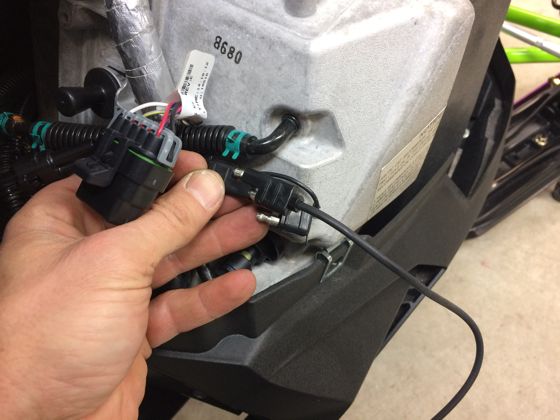
Plug-in the long wire that came in the Heater Kit. I run the wire up and over the chaincase, to the silver aluminum spar, then up to the steering post/top of hood. If what I wrote doesn’t make sense, it will when you look at your sled and try it yourself.
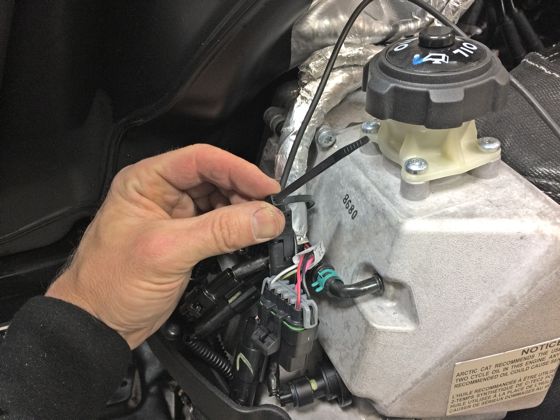
Then I zip-tie the wire to various spots, making sure it won’t touch the exhaust pipe or get hung-up on the steering post.
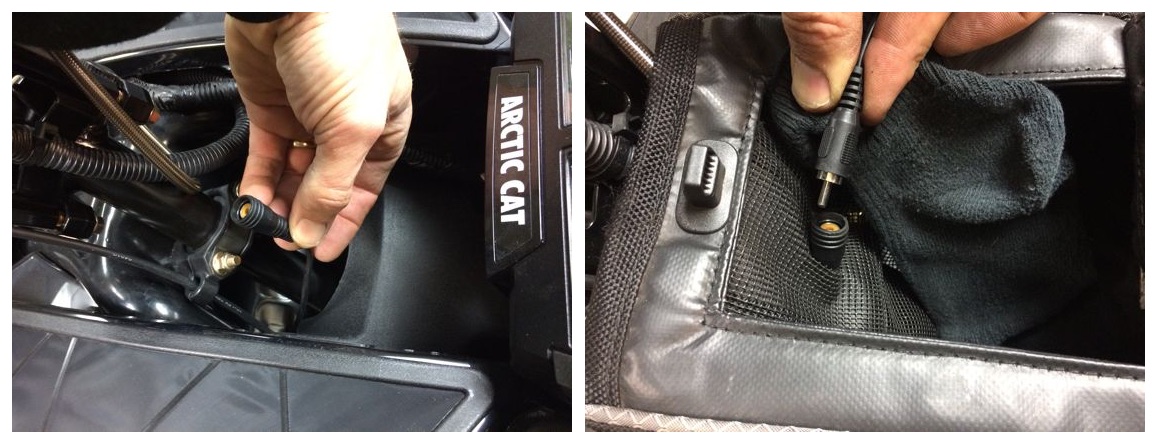
Voila! Wiring is up, fished through the bottom of the bag, and then mated with the heater element itself. My phone is feeling warm and it isn’t even near the bag yet.
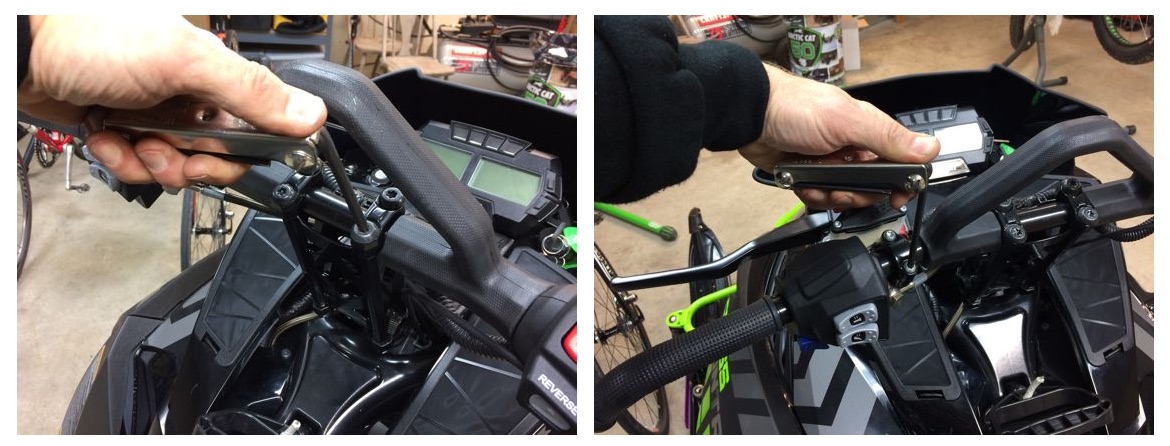
Next, I spent a few moments sitting on my sled in quiet contemplation, solving the world’s problems with the razor-like clarity that comes only from sitting on a snowmobile.
Then I pretend to ride it, turning the handlebars from side to side (made easy thanks to the ski dollies), trying to get a feel for the handlebar and controls (throttle and brake levers).
Because of my outrageous ditch-banging riding style, I always have to adjust the bars/controls to achieve NxTLvl performance.
Last but not least, the addition of a real windshield (I prefer the Arctic Cat Mid-14-in.).
Yes, I know that such a tall window detracts from my ditch-banging persona. Yes, I know that all the tail-standers who hang with Bobby Flame will make fun of my big window when I show up at the X Games Freestyle competition with it.
But I’ll be the guy laughing anytime the temperature is below 30 degrees F.
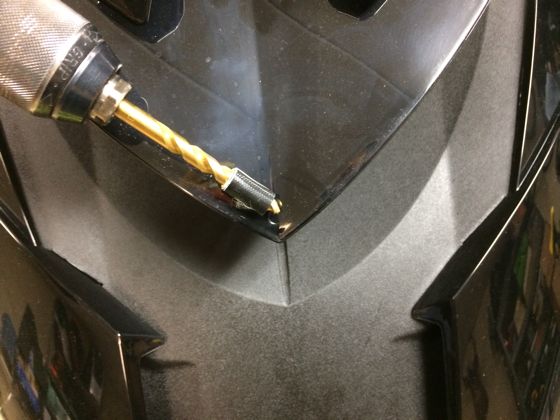
Anyway…the instructions that come with the Sandberg-endorsed window are straightforward and fine. However, there’s one slightly tricky part of the install that involves drilling a hole into the forward tip of headlight pod. Rather than over-drill that sucker like I did the first couple of times I installed a taller windshield, I suggest a few wraps of duct tape around the drill bit for a de-facto depth stop. You’ll thank me for it.
That’s it for round one of my Before-I-Even-Click-Off-A-Mile Sled Prep. I have a few more goodies that will be installed on this baby in the coming weeks, which I will detail in another post.
Plus there’s a strong chance that I’ll make a couple of tweaks to the rear suspension to tailor it for my special style of ditch-banging. But I want to get a hundred miles or so on it first before I start making those changes. So stay tuned.
Now…time to ride.
Thanks for reading.


Stellar info John.
Those cross country’s are super pretty sleds. BRAAAP!
Can I make a suggestion? Keep your cell phone on your person rather than on the sled. That way, you don’t need a heater.
Secondly, and more importantly, if something happens, you have it on you, rather than the sled. It happened to a friend a few years ago. He hit a tree, busted himself up, and couldn’t get up to get to his sled to call someone. Luckily a hunter found him a few hours later and called emergency help. mr8d
Very cool to see you and I will be riding the same sled this year. Just a thought it would be very helpful for you to go through a complete setup of a “new” sled as if you just brought it home. I always check nuts, bolts and routing of wires and hoses just to make sure. Found one bumper bolt completely stripped on my Cross Country but Country Cat took care of me.
Thanks
Number one on the list :
1. Call your riding buddies to coordinate take -off point. ; )
Nice sled John ! I assume you loosened the front skid shock spring and have the coupling blocks in the center. Rear springs at lightest setting. Adjust track tension and alignment. I always stud my track but start out with stock ski carbides anticipating crappy snow conditions early.
Two sleds just went by the house on the road as I was typing this !
Sweet ride John! Looks like there is still room for a tin of sardines….
Very Well done! proud of ya! a little prep goes along way , in our snowmobile safety classes we require the kids to put an additional kit together for their sleds, maybe they will never need it but it there if they ever do..plus we stress practicing this so in case something should come up they will be familiar with the equipment they have. have a good one!
Chris: I want my phone quickly accessible (for photos), which means chest pocket, which means a dead battery (from cold temps).
Chad: You’re right, I should have talked about giving the once-over on a sled after bringing it home for the first time.
Paul: Those mods you mentioned are what I’ve done to my sleds the past few years, and I anticipate I’ll do the same to the CC. But I want to ride it in a few situations first, just to see if I think the sled needs those adjustments. Also, you’re probably glad you didn’t go on yesterday’s ride, although we did have fun (story to come soon).
Mike: There’s always room for sardines.
When do the Arctic Insider super trick unobtainium storage matts go into production? And seriously, you’re running less than an 10″ riser, don’t even show up at Xgames with that..
Nice sled… i have the same. Opted for the LXR windscreen (no holes to drill).
Where do you plug in your heated shield if you have used that plug for the phone heater?
Oh, and didn’t you forget the duct tape?
I used to keep my phone in the back pocket of my baggy riding pants but I broke it once riding in a freestyle show.
When you set your sled up do you cut your snow flap off for tailstanding?
GregW: I don’t use a heated shield, so I haven’t needed the plug for it. However, there a 1-into-2 split line came with the heater kit (you can see it in the photo of kit on the seat), which I could plug into the accessory line, giving me two outlets for power/heat.
And yes, I forgot to mention duct tape. I pull about 10 feet off a roll, tape/roll it around a AA battery and then keep it in my jacket pocket.
You forgot to install a GPS with Red Pine Mapping!